Affiliate links on Android Authority may earn us a commission.Learn more.
How to Add Flip Animations to your Android App
July 31, 2025
Flip animations can create a more enhanced feel for your app by making it more playful, especially when displaying notifications. Here’s how to implement a page flipping animation.
Create views
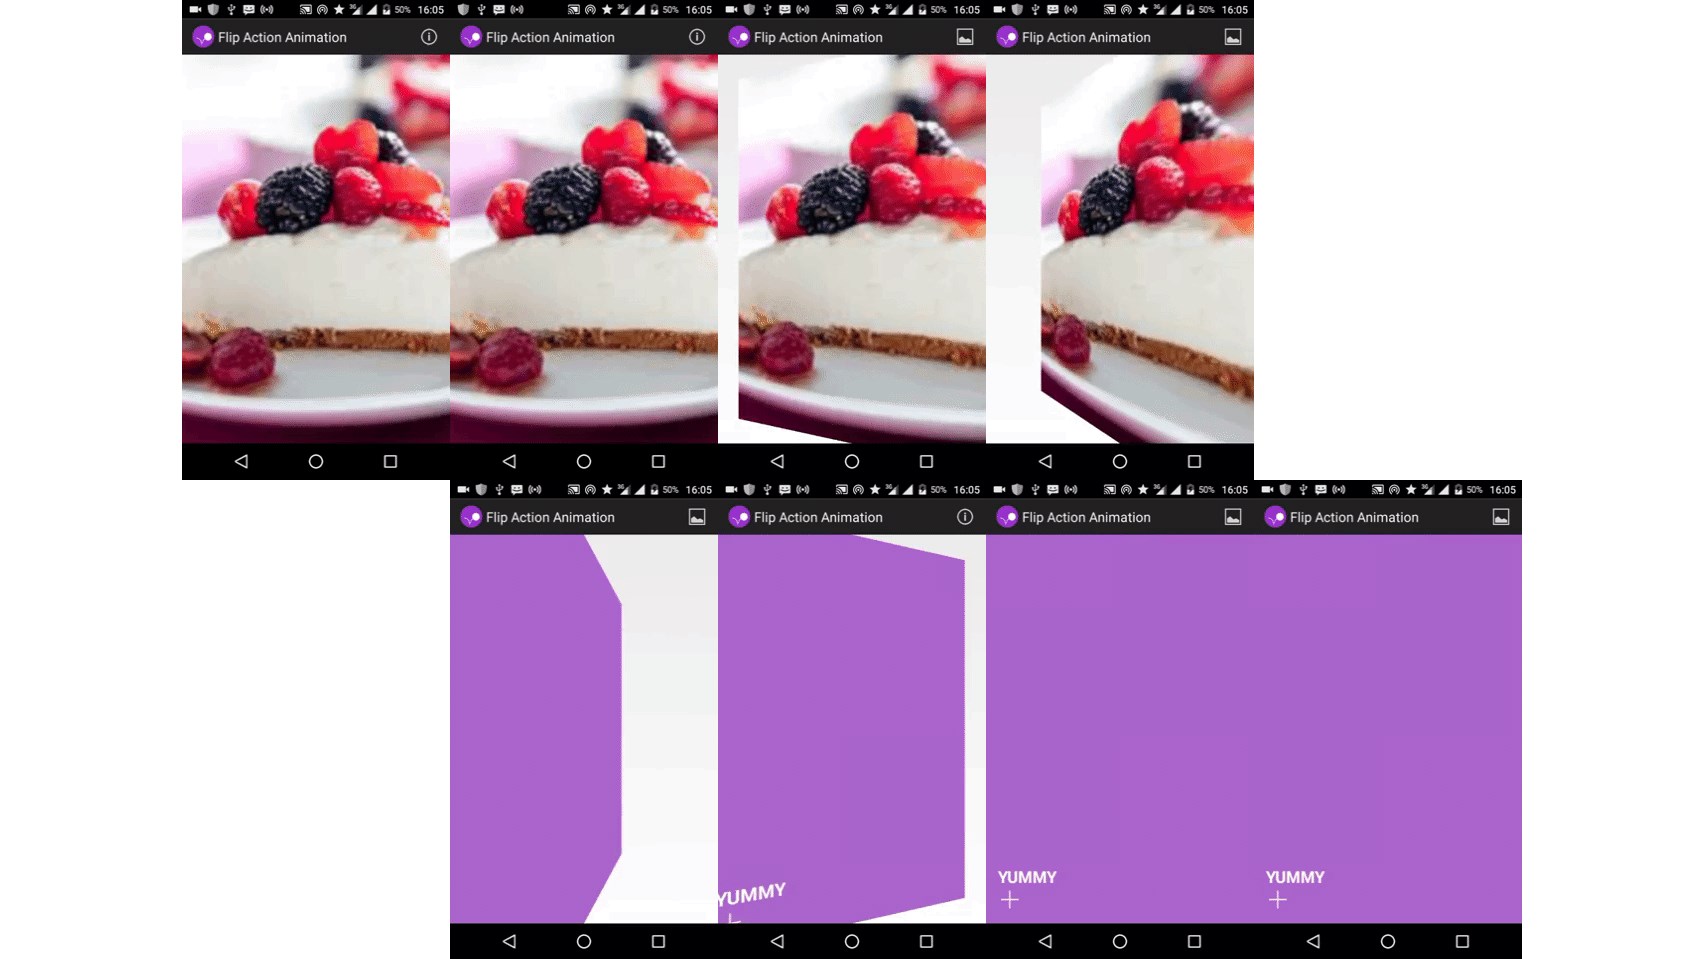
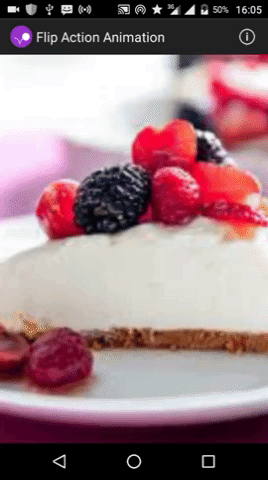
A card has two sides and each side needs to be a separate layout. Create 2 layouts, a back layout and a front layout . The front view will contain an image and the back view will contain a description. Here is the layout for the front of the card which shows an image. Put it into a file called front.xml under “res/layout”:
Next is the layout for the back side, which shows text that gives a description of the image. Put the following XML into back.xml:
Create the Animators
Animators are used to control the visual elements. You will need four animators for when the card animates out to the left, out to the right, in to the right and in to the left. The effect of the first animator is to rotate the back of the card into the view. Here is the XML for res/animator/left_in.xml:
The effect of this next animator is to rotate the card’s front out of view. Put the following XML in animator/left_out.xml:
The third animator rotates the front of the card in to view. Put this code in animator/right_in.xml:
The final animator is used to rotate the back of the card in to the view. Here is the XML for animator/right_out.xml:
Create Fragmentsand animate the Flips
Create the back and front fragment classes, and a layout to display the fragments. You also need to set the fragment that will be displayed by default when the activity launches. Here is the layout for displaying the fragments, which you can use to add fragments at runtime. Put this code in layout/activity_flip.xml:
Here are the fragment classes for the back and front of the card:
In the FlipActivity code, set the content view to be the FrameLayout you just created. Decide which card you want to display by default. In this example, we are going to display the front of the card. Here is how to display a default fragment when the activity is created.
When you open the app for the first time, the front of the card containing an image will be displayed. Let’s configure an action that will display the back of the card. The code below will show the other side of the card and incorporate the following actions:
Now create the menu items which will show flip animations when clicked. In the menu/main.xml, add the following menu items:
Next, define menu item Id’s for instantiating bar items, create a values resource (values/action.xml) and add the following XML code to it:
Update the Activity class by inflating the menu with the items you created above and instantiate the flipCard() method when a menu item is clicked.
The final code for the activity (FlipActivity.java) should look like this:
The final result should look like this:
Conclusion
Flip animations can help to enhance your app and move its UI from the mundane to a great visual experience. Do you use flip animations your app? Let me know in the comments below!
Thank you for being part of our community. Read ourComment Policybefore posting.
